Yellow painted chair
 |
| This chair was painted for my daughter Jentry. She needed a desk chair in her apartment. |


 |
| Unfortunately I don't have any before pictures of this one, but you're gonna love the after ones... |
 |
| I basically sanded her down, two coats of Ivory paint, distressed her, stained her, and topped her off with two coats of water based polyurethane. |


 |
| This turned out sooo pretty! She is now serving as Erin's dresser in Texas. |
 |
| I started sanding it off with my palm sander, then I remembered I needed a BEFORE picture. |
 |
| She started as a shiny maple color |


 |
| Here she is all sanded down and rubbed down with liquid sandpaper |

 |
| After 3 coats of Cut Ruby valspar paint |

 |
| It was almost too pretty to distress, but I knew I had to do it... |


 |
| I lightly sanded off the edge with 120 grit sandpaper. This really brought out the curves and the lines. See the difference? The Right one has been distressed, compared to the Left one which has not. |

 |
| I then stained it with a mixture of glaze and walnut stain 4:1 |

 |
| I love this wipe on poly stuff. Two coats to add shine and protection. |
 |
| The completed Red Buffet Table.....Isn't she a Beauty? |


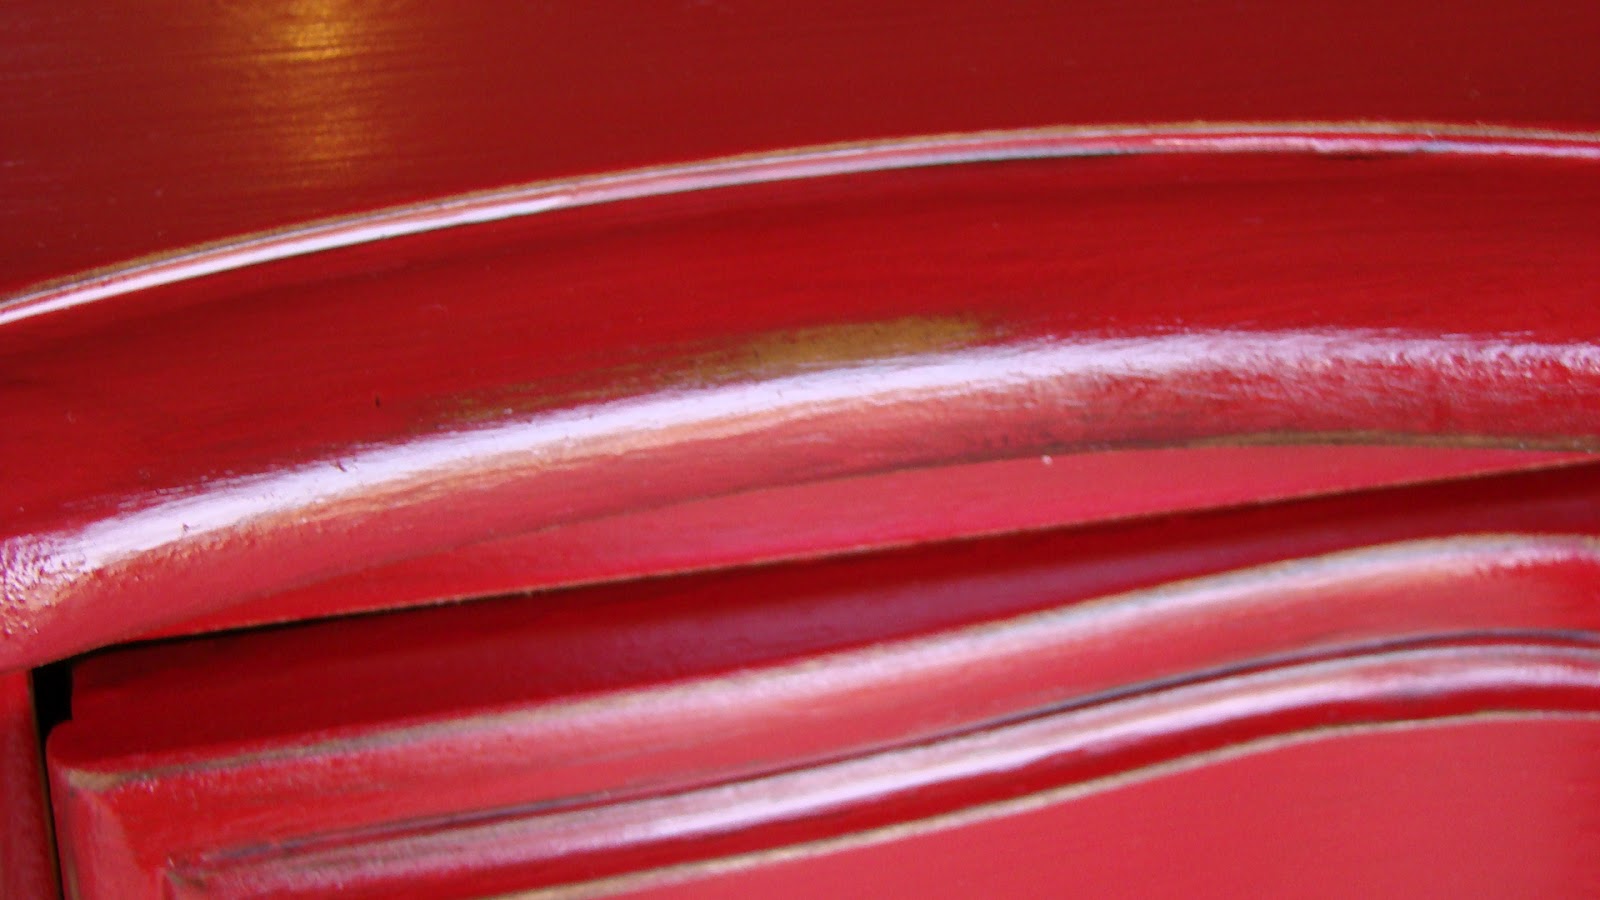 |
| See the lightly distressed lines.... |


 |
| It took a while to find just the right base to start, but I got lucky to find this mirror on clearance at Gordman's for $20. |
 |
| It was originally brown, but I spray painted it black. |

 |
| The reason it was on clearance was because there were a few missing pieces of these raised blocks. But my wonderful husband cut a few for me to fill in the blanks with. Thanks Honey! |

 |
| I knew they would be covered up anyway, so no one would ever know! |

 |
| I had saved many pop cans over a few months, cut off the tops and the bottoms so that I had flat aluminum pieces. Then I cut 1 1/2 inch squares to fit on the raised blocks. |
 |
| There was 168 raised blocks, with four little nails on each corner of the square to hold on the aluminum piece. (FYI thats 672 nails plus or minus a few I had to yank out) |
 |
| It took a while. I basically had this on my kitchen table for a week, and I would sit down for some nailing sessions every chance I could. |
 |
| Blood sweat and tears went into this one! |
 |
| Here's the final product! I just love how shiny and colorful she looks! |


 |
| The side view |
 |
| Definitely a conversation piece, wouldn't you say? This is for my sweet daughter Erin to hang in her new apartment! |


